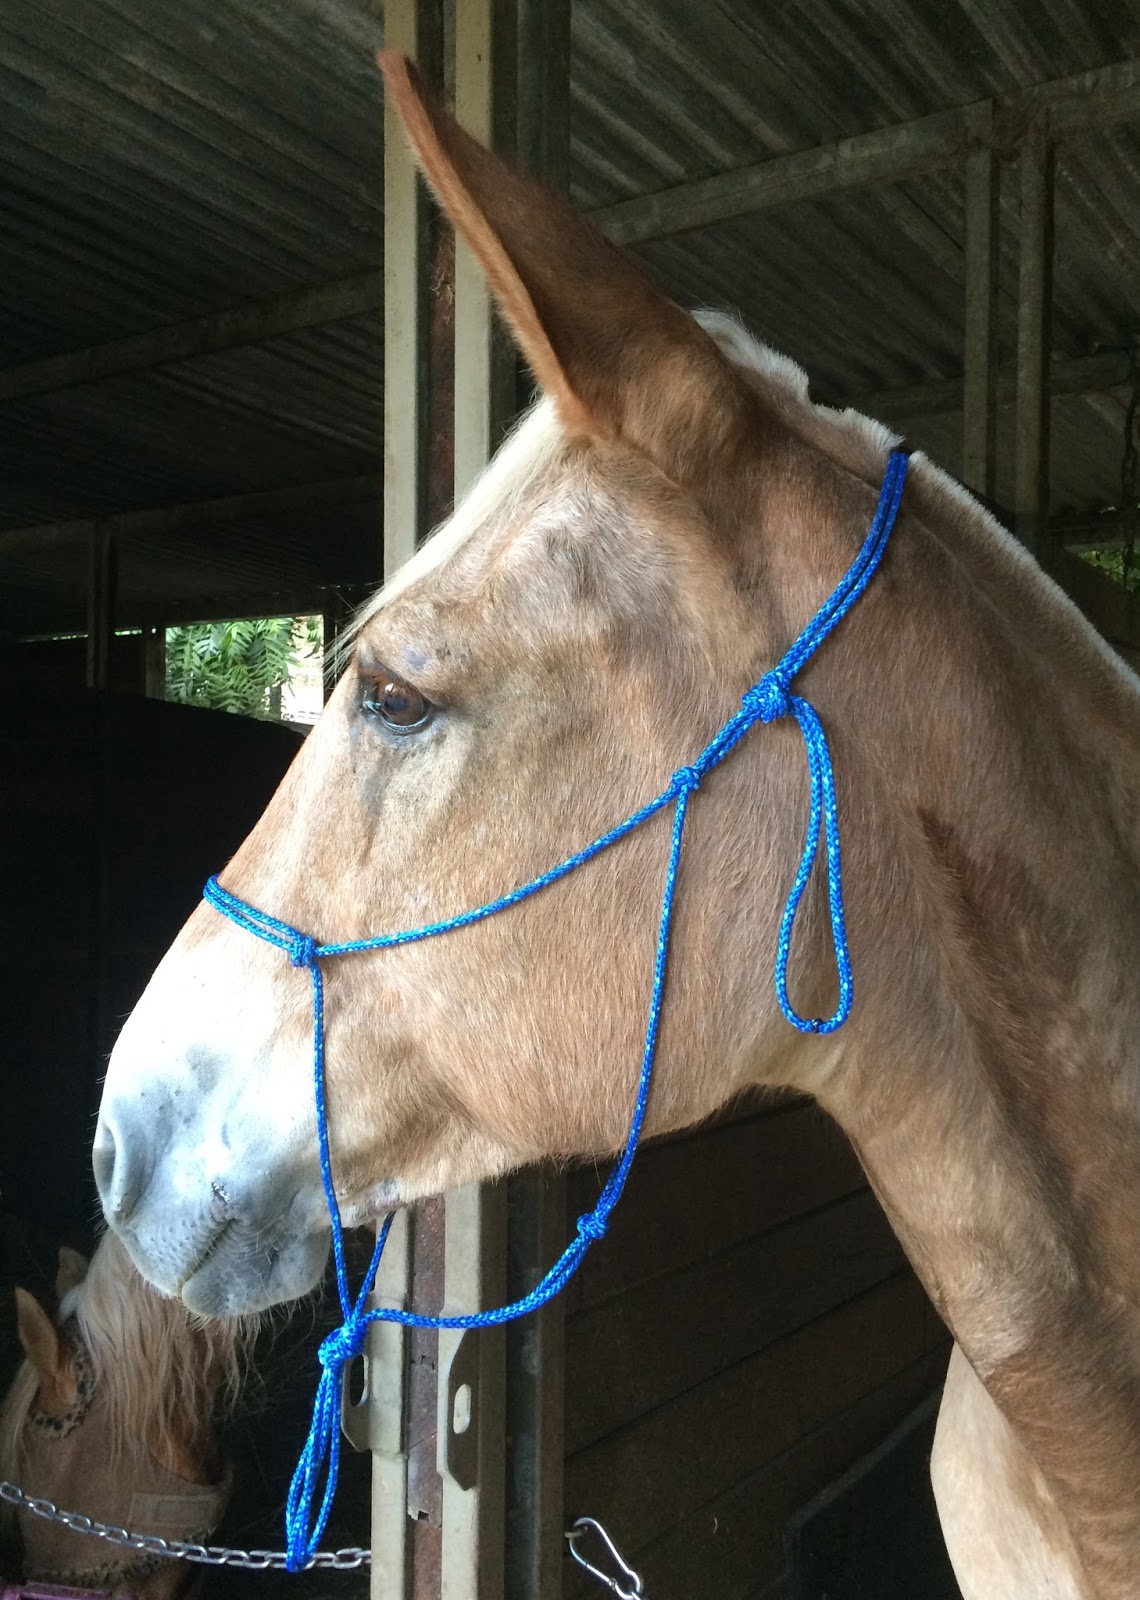
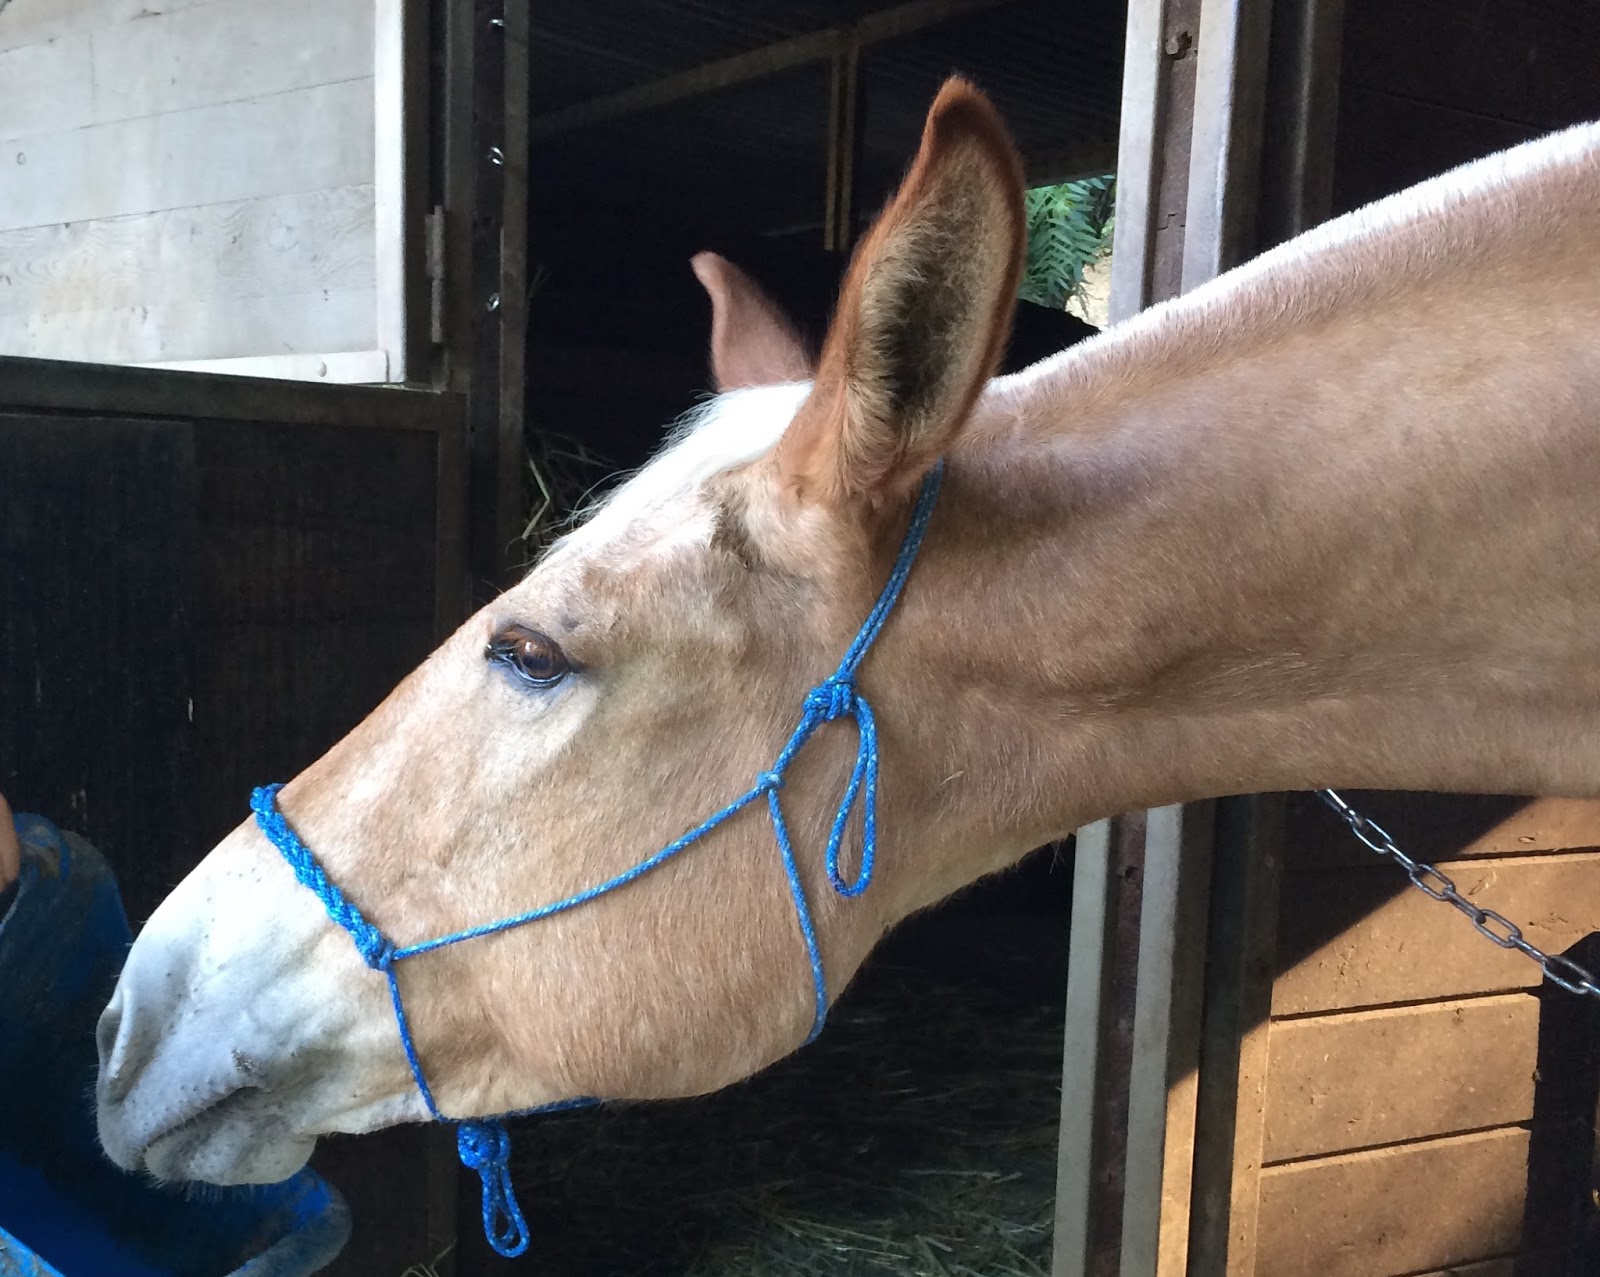
Crafting Control: The Art of the DIY Rope Halter
Ever wondered about the intricate knots and loops that form a horse's halter? Beyond its functional purpose, crafting a rope halter yourself can be a rewarding experience, connecting you with a long-standing tradition of horsemanship. It's more than just tying knots; it's about understanding the subtle pressures and releases that communicate with your equine partner. This guide will delve into the art of rope halter creation, from its rich history to practical tips and troubleshooting.
Creating a rope halter is an ancient practice, dating back centuries to when humans first began domesticating horses. These early halters were likely simple affairs, fashioned from natural fibers like hemp or hair. Over time, the craft evolved, incorporating more complex knots and designs, reflecting both regional traditions and practical needs. The significance of the halter lies in its role as a primary tool for control and communication, allowing handlers to guide and manage their horses safely and effectively. Today, constructing a rope halter remains a valuable skill for any horse owner, offering a deeper understanding of equine behavior and partnership.
The core principle behind a well-made rope halter is pressure and release. The knots and loops are strategically placed to apply pressure at specific points on the horse's head, encouraging the desired response. When the horse yields to the pressure, the halter loosens, providing immediate relief. This clear communication system builds trust and respect between horse and handler, fostering a more harmonious relationship. A common issue encountered when crafting a rope halter is achieving the correct tightness of knots. Too loose, and the halter might slip or be ineffective; too tight, and it could cause discomfort or even injury to the horse. Mastering the appropriate tension is crucial for both safety and effective communication.
A "fiador" is a key component of many rope halters. It's the loop that sits over the horse's poll, acting as a pressure point for more advanced control techniques. For instance, a slight pull on the lead rope attached to the fiador can encourage a horse to lower its head or yield to lateral pressure. Constructing a halter without a fiador results in a simpler design, often preferred for everyday handling. A simple rope halter consists of a noseband, cheek pieces, a crown piece, and a throatlatch, all formed from a single continuous piece of rope.
Understanding the nuances of rope halter construction empowers horse owners to customize their halters to their horse's specific needs and preferences. For example, a horse with a sensitive poll might benefit from a halter with a wider, softer fiador. This ability to adapt and adjust the halter design is a significant advantage of making your own. Now, let's delve into the practical steps involved in constructing a rope halter, starting with the materials and basic knots.
Creating a rope halter offers several advantages: a deeper connection with your horse through understanding pressure and release, customization options, and the satisfaction of creating something functional and beautiful. One successful example of halter making is using vibrant paracord to create a personalized halter, incorporating decorative knots or beads for added flair.
Advantages and Disadvantages of Making a Rope Halter
| Advantages | Disadvantages |
|---|---|
| Customization to fit your horse | Requires time and practice |
| Deeper understanding of pressure and release | Potential for incorrect knot tying, leading to discomfort or injury if not done correctly |
| Cost-effective compared to buying pre-made halters | Requires specific tools and materials |
Frequently Asked Questions:
1. What type of rope is best for making a halter? - Soft, durable ropes like yacht braid or poly rope are recommended.
2. How long should the rope be? - Approximately 12-15 feet, depending on the horse's size.
3. What knots are essential? - The crown knot, the double half hitch, and the eye splice are fundamental.
4. Can I add decorations to my rope halter? - Yes, beads, tassels, and decorative knots can personalize your halter.
5. How do I adjust the fit of the halter? - Tightening or loosening specific knots allows for adjustments.
6. What are some common mistakes to avoid? - Tying knots too tight, using unsuitable rope, and incorrect placement of the fiador.
7. Where can I find tutorials on rope halter making? - Numerous online resources, books, and videos offer step-by-step instructions.
8. Is it cheaper to make my own halter? - Generally, yes, especially if you already own some rope and basic tools.
Crafting a rope halter transcends the simple act of knot tying. It’s a journey into the heart of horsemanship, fostering a deeper connection with your equine companion through understanding and communication. From selecting the right rope to mastering the final knot, every step in the process is a testament to the enduring bond between human and horse. By understanding the history, benefits, and practicalities of rope halter construction, you embark on a path of enhanced partnership, control, and mutual respect with your horse. So, gather your materials, learn the knots, and experience the profound satisfaction of creating something beautiful and functional with your own hands. The art of making a rope halter is a skill that will enrich your horsemanship journey for years to come.
Shin heung precision slovakia a closer look
The allure of cobalt blue cars
Imagenes de tatuajes de calaveras unleash your inner rebel with skull tattoo designs


